
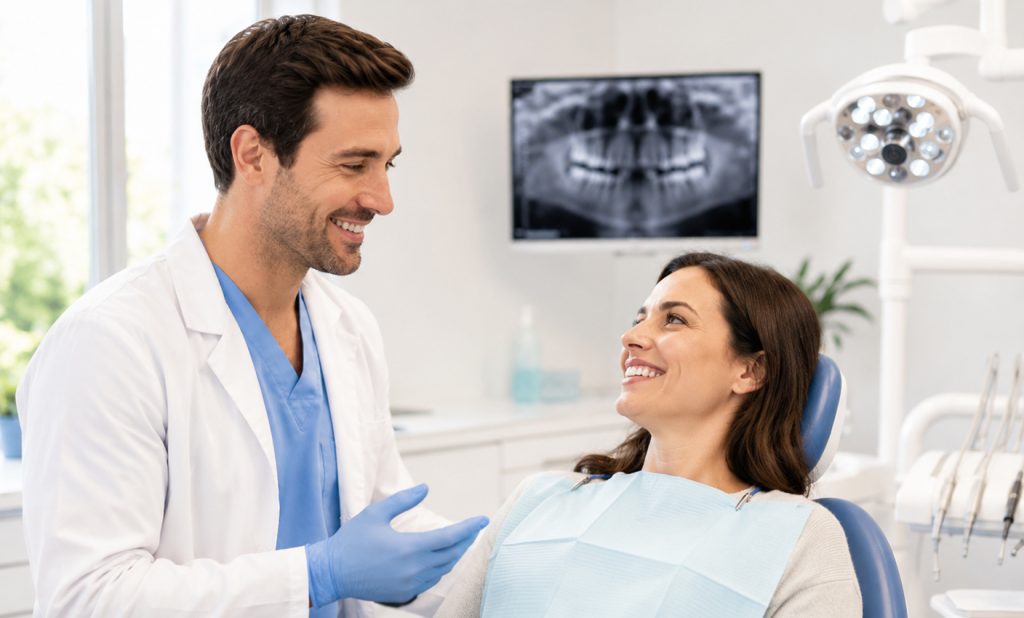
If you’re considering affordable veneers in Stockton, CA, this piece makes the options clear and practical so you can decide with confidence. You can achieve a natural-looking smile without overspending by choosing the right veneer type, financing plan, and a local dentist who balances quality with cost.
They will explain how veneers work, what to expect during treatment, and how to find budget-friendly clinics and payment options nearby. Expect straightforward comparisons of materials, a look at local care in Stockton, and simple tips to prepare for and care for your new smile.
Understanding Veneers
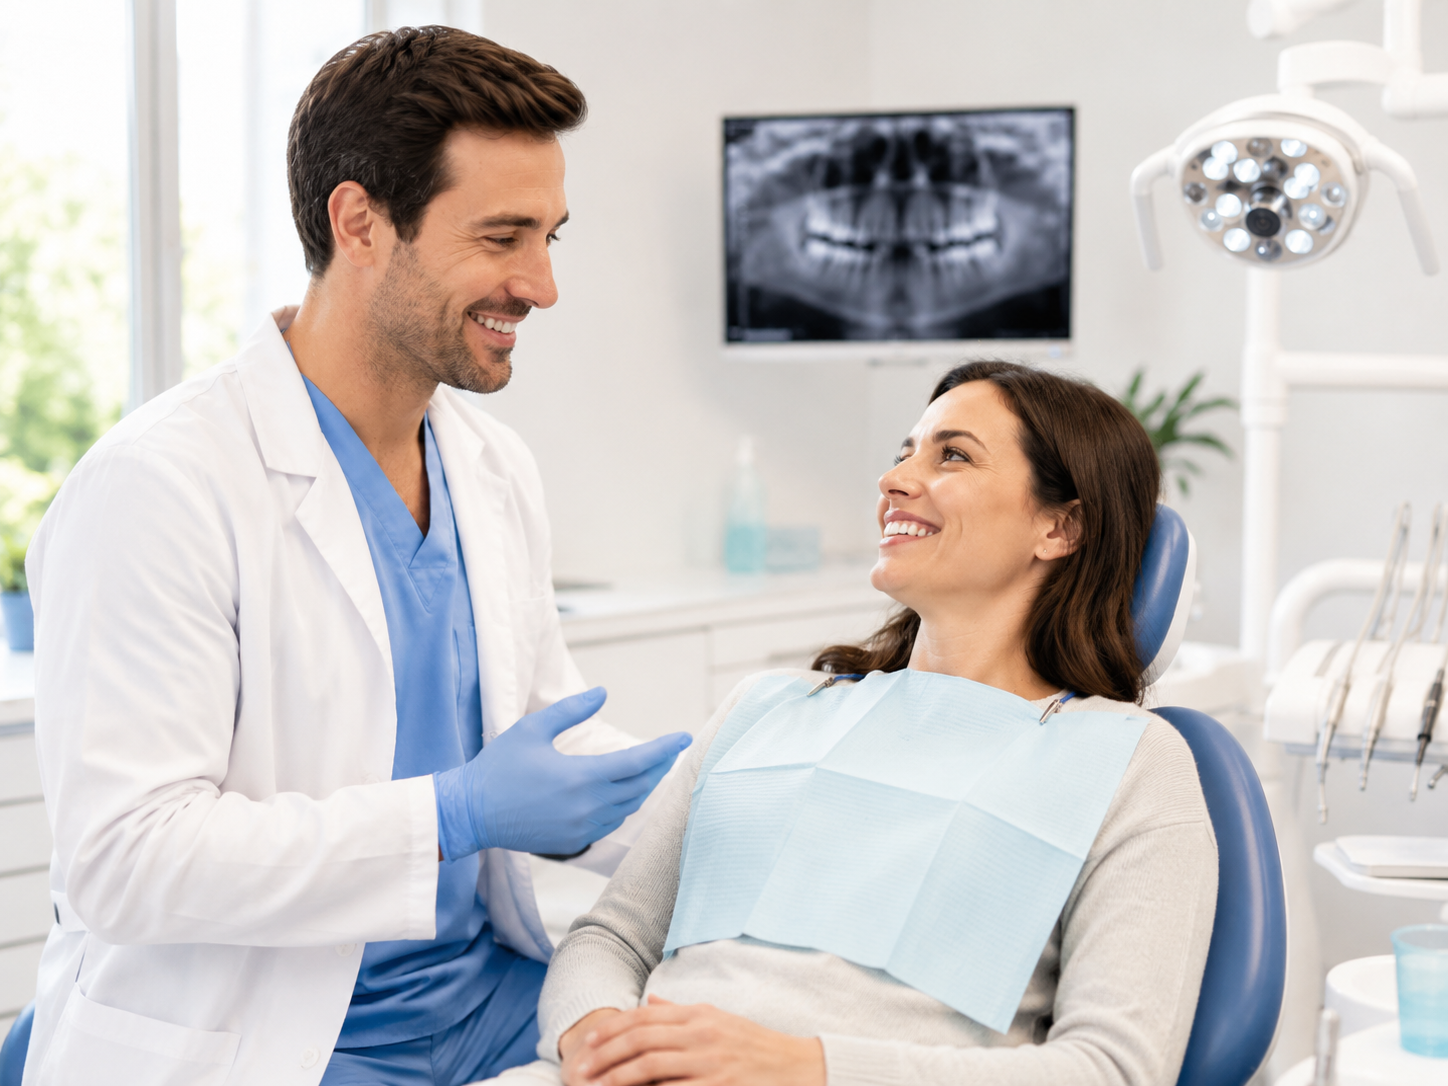
Veneers offer predictable cosmetic improvement for chips, gaps, stains, and worn enamel. They balance appearance, durability, and maintenance to create natural-looking smiles with relatively low long-term upkeep.
What Are Dental Veneers
Dental veneers are thin shells bonded to the front surfaces of teeth to improve appearance. They typically cover visible flaws—discoloration that doesn’t respond to bleaching, small fractures, uneven edges, or minor misalignment—without full crowns.
Dentists prepare the tooth by removing a small amount of enamel, about 0.3–0.7 mm for porcelain veneers, to ensure a flush fit and natural contour. Impressions or digital scans create customized veneers that match tooth shape, size, and shade. Bonding uses strong dental cement and a curing light to secure the veneer, creating a stable, stain-resistant surface.
Patients usually need one to three visits: consultation, preparation and temporary placement, then final bonding. Veneers can last 10–15 years with good oral hygiene and routine dental visits.
Types of Veneers Available
Porcelain veneers are the most common choice for durability and lifelike translucency. They resist stains, mimic enamel’s light-reflecting properties, and typically last 10–15 years.
Composite veneers require less tooth removal and can be done in a single visit. The dentist sculpts resin directly onto the tooth, then shapes and polishes it. Composite is less costly but stains and chips more easily; lifespan is often 5–7 years.
Lumineers® and other ultra-thin veneers need minimal or no enamel reduction. They conserve tooth structure and can be reversible in some cases. However, they may not correct severe shape or bite issues as effectively as traditional porcelain.
Cost, durability, cosmetic goals, and enamel preservation guide the choice. A dentist will assess oral health, bite alignment, and smile proportions before recommending the best type.
How Veneers Transform Smiles
Veneers correct multiple cosmetic issues at once—color, shape, size, and spacing—creating cohesive, symmetrical smiles. They provide immediate visible change while preserving much of the natural tooth compared with full crowns.
They also improve confidence and simplify maintenance; polished surfaces make daily brushing and flossing more effective at preventing stains. For patients with worn enamel or enamel hypoplasia, veneers restore normal contours and help distribute biting forces more evenly.
Realistic expectations matter: veneers improve appearance but do not replace orthodontic treatment for significant bite or jaw alignment problems. A treatment plan that includes shade selection, mock-ups, and trial veneers helps patients visualize results and ensures predictable outcomes.
Benefits of Choosing Veneers
Veneers transform tooth shape, color, and alignment with minimal discomfort and fast results. They also offer lasting color stability and protect weakened enamel from further wear.
Aesthetic Improvements
Veneers provide precise control over tooth appearance. Porcelain or composite shells bond to the front of teeth to change size, shape, and shade, correcting chips, gaps, and mild misalignment without braces. Porcelain veneers resist stains from coffee and tobacco better than natural enamel, so the chosen shade remains consistent over years.
Patients can preview designs during the consult with digital mockups or temporary veneers. Technicians match translucency and contour to adjacent teeth for a natural look. The result often requires only two or three appointments: consultation, preparation with minimal enamel reduction, and placement.
Boosting Confidence
Improved smiles often lead to measurable boosts in self-image and social ease. Patients report feeling more willing to smile, speak up in meetings, and participate in photos after getting veneers. That psychological benefit can influence job interviews and social interactions where first impressions matter.
Dentists tailor treatment to the patient’s facial proportions and lifestyle, so the smile feels authentic rather than “overdone.” For those anxious about dental procedures, many practices offer sedation options and stepwise treatment plans to build comfort and trust.
Durability and Longevity
Porcelain veneers typically last 10–15 years with proper care; high-quality composites last 5–7 years. Longevity depends on factors such as oral hygiene, bruxism (teeth grinding), and diet—avoiding very hard foods and using a night guard if grinding occurs improves lifespan.
Routine dental checkups and daily brushing plus flossing prevent decay at veneer margins. If a veneer chips or stains, individual repair or replacement is often possible without affecting adjacent teeth. Many practices provide specific aftercare instructions and warranty options for added assurance.
Finding Budget-Friendly Options
This section outlines what most affects veneer prices, how material choices change costs and results, and ways dental offices structure payment to make veneers manageable.
Factors Influencing Veneer Costs
Location matters: Stockton dental fees can be lower than Bay Area averages, but individual office overhead, lab fees, and clinician experience still drive price. A ceramic veneer from a high-end lab placed by a specialist costs more than a basic composite applied by a general dentist.
Case complexity changes the quote. Multiple veneers, significant tooth preparation, gum work, or bite adjustments increase chair time and lab work. Insurance rarely covers cosmetic veneers, so patients should plan for out-of-pocket costs and request detailed estimates.
Ask for an itemized estimate that lists consultation, preparatory treatments, temporary veneers, final restorations, and follow-up visits. Request photographs and lab communication notes so the patient understands what they pay for. Transparent billing helps compare true value across offices.
Comparing Affordable Materials
Porcelain (e.g., lithium disilicate) offers the most natural look and stain resistance but costs more due to lab fabrication and firing. Expect higher durability and a multi-visit process with precise lab communication.
Composite veneers are applied directly or made in-office and usually cost 40–70% less than porcelain. They require less tooth reduction and can be completed in one visit, but they stain and chip more easily and often need touch-ups or replacement sooner.
Hybrid options exist: pressed ceramic or thin-profile porcelain (e.max, feldspathic) balance cost and aesthetics. Discuss longevity expectations, warranty terms, and whether the office uses an in-house lab or local certified ceramist—those choices affect both price and final appearance.
In-Office Payment Plans
Many Stockton practices offer low-interest or interest-free plans through third-party financing (CareCredit, LendingClub) with repayment terms from 6 to 60 months. Typical monthly payments can range from $50–$200 depending on total cost and term length.
Dentists often provide internal plans: a down payment plus monthly installments directly to the office, which may reduce overall cost compared with third-party fees. Confirm whether plans cover both preparatory work and prosthetics, and whether missed payments incur penalties.
Request written payment options during the consult and compare APR, total paid, and any start-up fees. Patients should calculate monthly impact and verify whether financing affects treatment timing, such as delaying restorations until full payment or permitting staged treatment.
Local Care in Stockton
Patients can expect clear explanations, same-day digital imaging, and care plans that account for budget, dental health, and lifestyle. Stockton clinics often offer flexible payment options and local follow-up to keep veneers looking their best.
What to Expect at Your Consultation
At the first visit, the dentist takes digital X-rays and intraoral photos to document tooth structure and bite relationships. They perform a focused oral exam to check for decay, gum disease, or cracks that must be treated before veneers.
The clinician discusses veneer materials (porcelain vs. composite), typical lifespan, and esthetic goals using before-and-after photos of previous Stockton patients. Patients receive a written estimate that breaks down lab fees, material costs, and any preparatory work like root canals or periodontal therapy.
A temporary smile mock-up or digital simulation is often provided so patients can approve shape and shade. Scheduling, financing options, and a proposed timeline for prep, impressions, and final placement are confirmed before leaving.
Choosing the Right Dentist
Look for dentists in Stockton with specific veneer experience and strong portfolios of recent cases. Prioritize clinicians who publish clear photos of their own work and who can show consistent color matching across multiple lighting conditions.
Verify credentials: cosmetic dentistry coursework, membership in the American Academy of Cosmetic Dentistry, and positive patient reviews that mention communication and follow-up care. Confirm the office uses a local US-based lab or a well-reviewed ceramic technician to ensure predictable color and fit.
Ask about chairside time, sedation options, and warranty policies for veneer fractures or debonding. Choose a practice that offers transparent pricing, written guarantees, and a straightforward plan for emergencies or adjustments.
Personalized Treatment Plans
A personalized plan starts with addressing dental health needs first — fillings, gum treatment, or bite adjustments come before veneer prep. The dentist outlines conservative options, often recommending minimal-prep veneers or composite bonding when appropriate to conserve natural tooth structure.
Plans include concrete timelines, step-by-step procedures, and aftercare instructions: avoid hard foods for two weeks, use a non-abrasive toothpaste, and wear a nightguard if grinding is present. Follow-up appointments are scheduled at one week, one month, and annually to monitor margins and shade stability.
Payment plans, CareCredit availability, or in-office financing options are detailed in writing so patients can weigh cost against expected longevity and aesthetic outcomes.
Preparing for Your Transformation
This phase explains what happens during the clinical evaluation and what steps the patient should take before veneer placement. It focuses on practical tests, timing, and short-term preparations that affect results and comfort.
Initial Assessment and Evaluation
The dentist conducts a thorough oral exam, including digital X-rays and intraoral photos, to map tooth structure and root health. They check for decay, gum disease, bite alignment, and existing fillings because untreated issues can compromise veneers.
A shade guide comparison and a mock-up or digital smile design help set realistic expectations for size, shape, and color. The clinician often takes impressions or digital scans to create precise models for lab-fabricated or same-day veneers.
If the patient has bruxism, the dentist will assess wear facets and may recommend a nightguard. They will also review medical history, allergies, and current medications to ensure bonding materials and anesthesia are safe.
Pre-Treatment Recommendations
Patients should complete any necessary restorative work first, such as fillings or periodontal care, because veneers require a healthy, stable foundation. Scheduling these appointments 2–4 weeks ahead prevents delays and promotes tissue healing.
Maintain excellent oral hygiene: brush twice daily with fluoride toothpaste and floss once daily to reduce inflammation. If the gums bleed or appear swollen, the dentist may postpone veneer preparation until periodontal health improves.
Avoid tobacco and minimize staining foods (coffee, red wine, berries) for at least one week before shade selection to ensure accurate color matching. On the day of tooth preparation, arrive with clean teeth, and disclose recent antibiotic or steroid use, since these can affect healing and sensitivity.
They should plan for a short recovery: mild sensitivity is common for a few days, and temporary veneers may be provided if more than minimal enamel is removed. Book a follow-up appointment within two weeks for fit adjustments and final polishing.
The Veneer Application Process
This section explains the step-by-step care patients receive and how clinics prioritize comfort, fit, and natural appearance. It covers the clinical steps from initial preparation to final placement and the measures taken to keep patients relaxed and informed.
What Happens During the Procedure
The dentist begins with a focused exam and digital photos to plan shape, shade, and alignment. They take precise impressions or a digital scan to create veneers that match tooth contours and bite.
Local anesthesia is applied to numb targeted teeth; anesthesia choice depends on patient sensitivity and the amount of enamel to remove. The dentist conservatively trims 0.3–0.7 mm of enamel from the front surface to allow the veneer to sit flush.
Temporary veneers may be placed if lab fabrication takes time. When lab or in-office porcelain veneers are ready, the dentist checks fit, color, and margins, making small adjustments with fine burs. They clean and etch the tooth, apply bonding agent, and cure the resin cement with a light for secure adhesion.
Post-bonding, the clinician checks bite and removes excess cement. Final polishing ensures a smooth surface that resists staining. Typical single-visit bonding takes 1–2 hours; full cases often require two to three appointments over 1–3 weeks.
Ensuring a Comfortable Experience
Clinics assess anxiety and pain history during the consultation to tailor comfort measures. They offer options like topical anesthetic, local blocks, nitrous oxide, or short-acting oral sedatives depending on patient needs and medical history.
Staff explain each step before and during treatment to reduce surprises. They use noise-dampening measures, pillows, and breaks during longer appointments to maintain relaxation.
For sensitivity after preparation, dentists prescribe desensitizing toothpaste or a short course of fluoride varnish. Follow-up appointments occur within 1–2 weeks to check fit, address sensitivity, and review home care, including brushing with a non-abrasive fluoride toothpaste and avoiding hard foods for 48 hours.
Patients are encouraged to ask about warranty, lab credentials, and material options (e.g., lithium disilicate vs. feldspathic porcelain) to make informed choices and feel confident moving forward.
Caring for Your New Smile
Daily care keeps veneers looking natural and lasting for years. Regular habits, gentle techniques, and prompt attention to issues protect both veneers and underlying teeth.
At-Home Maintenance Tips
They should brush twice daily with a soft-bristle brush and non-abrasive fluoride toothpaste to remove plaque without scratching the veneer surface. Use 45–60 seconds per quadrant and a gentle circular motion rather than aggressive scrubbing.
Floss once daily using slide-and-sweep technique to avoid lifting the veneer margins. If interdental space is tight, use waxed floss or a water flosser to clean along the gumline and between teeth without stressing the bond.
They should schedule a professional cleaning every 6 months or as recommended by the dentist to remove tartar and let the clinician check margins. If the patient grinds or clenches, a custom nightguard prevents microfractures; mention symptoms like morning jaw soreness to prompt evaluation.
Preventing Stains and Damage
To minimize staining, they should limit coffee, tea, red wine, and tobacco; rinse with water after consuming staining foods and beverages. Use a straw for dark drinks when possible to reduce contact with the front teeth.
Avoid biting hard objects such as ice, pens, or fingernails, and steer clear of using teeth to open packages. If sports are part of the patient’s routine, wearing a properly fitted mouthguard prevents traumatic chipping.
Products labeled “whitening” do not change porcelain veneer color; consult the dentist before using any at-home whitening. If a veneer chips, becomes loose, or causes sensitivity, they should contact the dental office promptly for assessment and repair.
Long-Term Results and Next Steps
Veneers in Stockton, CA often last many years when patients follow a few predictable care steps. Regular professional oversight and smart daily habits preserve appearance and function while minimizing unexpected repair costs.
Regular Checkups and Follow-Up
Patients should schedule dental exams every six months for cleaning and veneer inspection. At these visits, the dentist will check for margin gaps, chips, staining, and bite changes that can threaten veneer longevity.
Digital X-rays or intraoral photos may be taken annually to monitor tooth structure beneath the veneer. If the clinician detects early cement failure or decay at the edges, they can intervene with conservative repairs rather than full replacement.
After placement, a follow-up appointment at 2–4 weeks confirms fit, occlusion, and patient comfort. Additional follow-ups depend on risk factors: bruxism, gum disease, or heavy staining habits require closer monitoring every 3–4 months until stable.
Maintaining Results Over Time
Daily oral hygiene preserves both natural teeth and veneers: brush twice daily with a non-abrasive fluoride toothpaste and floss once daily using gentle, controlled strokes. Avoid hard-edge scrubbing and abrasive whitening pastes that can dull or scratch porcelain and composite surfaces.
Protect veneers from mechanical damage by wearing a custom nightguard if the patient grinds or clenches teeth. For sports, use a fitted mouthguard to prevent impact fractures.
Limit acidic and highly pigmented foods and drinks—coffee, red wine, and citrus—and rinse with water after consumption to reduce staining risk. If staining occurs, professional polishing or selective surface renewal can restore luster without full replacement.
If a veneer chips or debonds, have the dentist assess it within 48 hours. Temporary fixes exist, but timely professional repair typically preserves more tooth structure and lowers long-term costs.
For personalized guidance, patients are encouraged to contact their Stockton dental provider to review risks, expected timelines, and maintenance plans.
Getting Started With Your Smile Journey
They begin with a simple consultation to discuss goals, budget, and medical history. This first visit clarifies whether veneers are the right option and what alternatives might fit better.
The dentist performs a quick oral exam and may take X-rays or photos. These records help plan veneer shape, color, and placement with precision.
Patients receive a clear treatment timeline that covers preparation, lab work, and fitting. Typical plans take a few weeks, but same-day veneer options are available in some clinics.
Cost estimates and financing options appear early in the process. Clinics that focus on affordable veneers in Stockton, CA often provide payment plans or bundled packages to ease budgeting.
A mock-up or digital preview shows expected results before any tooth alteration occurs. Seeing a visual helps patients set realistic expectations and request adjustments.
Pre-treatment steps include treating decay or gum disease and improving oral hygiene. Healthy teeth and gums lead to longer-lasting veneers and a more comfortable experience.
Aftercare instructions cover gentle brushing, avoiding hard bites, and routine checkups. Proper care preserves appearance and function for years.
They are encouraged to ask about materials (porcelain vs. composite), lifespan, and repair options. Scheduling a consultation answers questions and begins a personalized plan toward a brighter, confident smile.
Frequently Asked Questions
This section answers common cost, material, financing, durability, review-checking, and appointment-timeline questions about affordable veneers in Stockton, CA. It gives practical numbers, clear comparisons, and red flags to watch for when choosing a provider.
How much do veneers typically cost, and what factors can make them more budget-friendly?
Veneer costs in Stockton usually range from about $500–$1,500 per tooth for composite and $900–$2,000+ per tooth for porcelain. The final price depends on material, number of teeth, the need for preparatory work (like root canals or gum treatment), and lab vs. in-office fabrication.
Group discounts for multiple teeth, bundled treatment plans, and seasonal promotions at local practices can lower per-tooth cost. Choosing composite veneers or same-day CAD/CAM porcelain can reduce lab fees and overall expense.
What’s the difference between porcelain veneers, composite veneers, and no-prep options when you’re trying to keep costs down?
Porcelain veneers cost more but resist staining and last 10–15 years with proper care. Composite veneers cost less, often $500–$900 per tooth, and typically last 5–7 years before repairs or replacement.
No-prep veneers avoid tooth reduction, lowering immediate treatment time and cost, but not every smile suits them; they can add bulk or affect bite. Dentists in Stockton will evaluate smile proportions and bite to determine suitability.
Are there financing or monthly payment plans that can help make veneers easier to afford?
Many Stockton dental offices partner with third-party lenders like CareCredit or offer in-house financing with 6–18 month payment plans. Interest-free promotions or low-interest long-term plans commonly appear for cosmetic cases.
Patients should compare total cost, interest rates, and monthly payments before signing. Ask the office for an itemized estimate and sample repayment schedules.
How can I tell if a lower-priced veneer option will still look natural and hold up well over time?
Check photos of recent cases that match your tooth shade and shape—before-and-after images show real outcomes. Ask what materials were used, whether a skilled ceramist handled porcelain work, and whether a warranty or maintenance plan applies.
Request details on bonding protocols and the expected lifespan for the specific product offered. If the office can’t provide transparent material names, lab credentials, or recent case photos, proceed cautiously.
What should I look for in patient reviews when choosing a veneer provider, and what are common red flags?
Look for repeated mentions of natural-looking results, clear pricing, and comfortable appointments. Positive comments about communication, post-op support, and follow-up care indicate a patient-centered practice.
Red flags include many mentions of surprise fees, short-lived results, poor color matching, or difficulty scheduling repairs. Also avoid providers with few recent reviews or inconsistent before-and-after documentation.
What are the most comfortable, modern steps in the veneer process, and how many visits should I expect?
Modern veneer workflows often start with a consultation, digital smile design, and photographs or intraoral scans. For composite veneers, one visit may suffice; porcelain typically requires two to three visits: prep/scan, temporary placement, and final bonding.
Clinics using same-day CAD/CAM porcelain can finish in a single extended visit. Expect local anesthesia for prep and detailed shade matching; follow-up usually occurs within two weeks to check fit and comfort.